Tiny homes have exploded in popularity in recent years, and for good reason! They offer a chance to simplify your life, live debt-free, and tread lighter on the planet. But where do you even begin if you’re dreaming of tiny living? This ultimate guide will walk you through the entire process of building a tiny home, from setting your budget to putting on the finishing touches.
1. Tiny Dreamin’: Envisioning Your Tiny Home
Before diving headfirst into power tools and lumber, take some time to visualize your tiny haven. What will your lifestyle look like? Will you be a solo adventurer or a cozy couple? Do you crave a rustic cabin vibe or a sleek, modern loft? Answering these questions will help you determine the size, layout, and features that are essential for your happiness.
Think about how you’ll use the space:
- Sleeping: Will you have a dedicated bedroom or a convertible living area? Consider Murphy beds, lofts, or even hammocks!
- Cooking: Do you envision a gourmet kitchen or a simple kitchenette?
- Living: How will you relax and unwind? A cozy reading nook, a fold-out movie screen, or a mini-balcony could be perfect.
- Storage: Every inch counts in a tiny home, so plan for clever storage solutions like built-in shelves, ottomans with compartments, and under-bed drawers.
2. Budget Bonanza: Financing Your Tiny Dream Home
Building a tiny home can be surprisingly affordable, especially compared to traditional houses. However, it’s crucial to set a realistic budget and stick to it.
Here are some cost factors to consider:
- Materials: Lumber, insulation, windows, doors, and roofing can vary in price depending on quality and size.
- Trailer or foundation: Will you build your tiny home on wheels or a permanent foundation?
- Permits and inspections: Building codes and regulations differ by location, so factor in any necessary permits and inspections.
- Appliances and furniture: Tiny appliances and furniture can be expensive, so consider space-saving options or repurposing items you already own.
Tip: Research tiny home communities or co-housing options to share resources and potentially reduce costs.
3. Tiny Titans: Tools and Techniques
Building a tiny home is a rewarding DIY project, but it’s essential to have the right tools and skills for the job.
Basic tools you’ll likely need:
- Hammer
- Saw (circular saw, jigsaw)
- Drill
- Screwdriver set
- Tape measure
- Level
- Safety gear (gloves, goggles, ear protection)
If you’re a complete beginner, consider:
- Taking a carpentry or DIY workshop.
- Enlisting the help of friends or family with construction experience.
- Hiring a professional for specific tasks, like plumbing or electrical work.
4. Trailer Talk: Choosing Your Foundation
Tiny homes on wheels offer flexibility and mobility, perfect for minimalist adventurers or those seeking off-grid living.
Things to consider when choosing a trailer:
- Weight capacity: Ensure the trailer can handle the weight of your finished tiny home.
- Axle type: Single or double axles provide stability and towing capacity.
- Brakes and tires: Make sure the trailer has adequate stopping power and durable tires.
Permanent foundations offer stability and are often required in certain areas. Options include concrete slabs, piers, and even salvaged materials like shipping containers.
5. Building Buddies: Framing Your Tiny Home
The framing is the skeleton of your tiny home, so it’s crucial to get it right.
Popular framing materials:
- Wood: The most common choice, offering affordability and ease of work.
- Steel: More durable and fire-resistant, but requires specialized tools and welding skills.
Tip: Use high-quality lumber and follow building codes for structural integrity.
6. Sheathing Sensation: Wrapping Up Your Tiny Home
Once the framing is up, it’s time to sheathe the walls and roof. This protects your tiny home from the elements and provides a base for siding and roofing.
Sheathing options:
- Plywood: Affordable and sturdy, but susceptible to moisture.
- Oriented strand board (OSB): Similar to plywood, but with better moisture resistance.
- Cement board: Fire-resistant and water-resistant, ideal for high-moisture areas like bathrooms.
7. Sealing the Deal: Insulation and Weatherproofing
Insulation is essential for keeping your tiny home cozy in winter and cool in summer.
Popular insulation choices:
- Fiberglass: Affordable and effective, but can be irritating to install and work with.
- Spray foam: Provides excellent insulation and air sealing, but can be expensive and requires professional installation.
- Rockwool: A natural, fire-resistant option that’s easy to work with but slightly less effective than spray foam.
Weatherproofing seals your tiny home against leaks and drafts.
- House wrap: A breathable membrane applied to the exterior walls before siding, helps prevent moisture from entering.
- Caulk and sealants: Fill gaps and cracks around windows, doors, and other penetrations to keep out drafts and water.
8. Roof Right: Putting a Lid on Your Tiny House
The roof protects your tiny home from the elements and adds to its overall aesthetic.
Popular roofing options:
- Metal: Durable, lightweight, and long-lasting, but may be noisy in rain.
- Shingles: Traditional and aesthetically pleasing, but require regular maintenance.
- Rubber membrane: Waterproof and flexible, ideal for curved roofs.
Remember to factor in ventilation when choosing your roof, especially if you plan to install a bathroom or cooktop inside.
9. Plumbing Prowess: Bringing Life to Your Tiny Oasis
Plumbing brings running water and sanitation to your tiny home.
Options to consider:
- Connect to municipal water and sewer lines: The simplest option, but may require permits and connection fees.
- Use a self-contained water system: Includes a tank, pump, and filtration for independent water supply.
- Composting toilet: Eco-friendly and low-maintenance, but requires ventilation and proper composting practices.
10. Electrifying Experience: Powering Your Tiny Paradise
Electricity is essential for lighting, appliances, and electronics.
Options to consider:
- Connect to the grid: The most straightforward option, but may require permits and installation fees.
- Solar panels: Generate your own electricity from the sun, ideal for off-grid living.
- Batteries: Store power generated by solar panels or wind turbines for use at night or during low-sun periods.
11. Finishing Touches: Making Your Tiny Home Your Own
The final step is to personalize your tiny haven with your own unique style.
- Install flooring: Choose materials like wood, vinyl, or carpet that are durable and easy to clean.
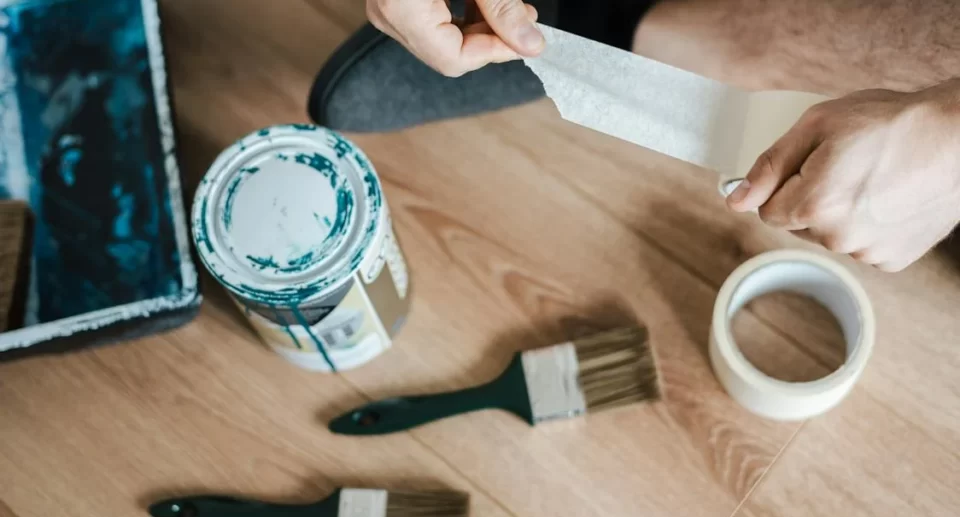
- Paint or wallpaper the walls: Create a cozy atmosphere with warm colors or add pops of personality with fun patterns.
- Furnish your space: Opt for multi-functional furniture and space-saving solutions to maximize every inch.
- Decorate with your favorite things: Photos, artwork, plants, and cozy throws will make your tiny home feel truly your own.
Tiny Triumph: Living the Dream
Building a tiny home is a journey of creativity, resourcefulness, and self-reliance. By following these steps and staying true to your vision, you can create a cozy, functional, and inspiring space that reflects your unique lifestyle. Remember, tiny living is not about deprivation, it’s about living intentionally and appreciating the simple things. So, embrace the adventure, get your hands dirty, and welcome to the wonderful world of tiny living!

